To assemble a Brentwood Blender, follow these steps: Align the blender jar with the base, lock it securely, and then attach the blade assembly.
Gathering the Necessary Components
To assemble a Brentwood Blender, gather all the necessary components, including the base, pitcher, blades, and lid. Carefully follow the instructions to ensure proper assembly for a seamless blending experience.
Before you can start assembling your Brentwood Blender, gathering all the necessary components is essential.
By checking the package contents, identifying the blender parts, and ensuring they are clean, you can set yourself up for a smooth assembly process.
Check the Package Contents
The first step in gathering the necessary components is to check the package contents. Carefully open the box and look inside to ensure all the parts are present.
This is important to prevent any delays or frustrations during the assembly process.
Here’s a quick checklist to help you determine if you have everything you need:
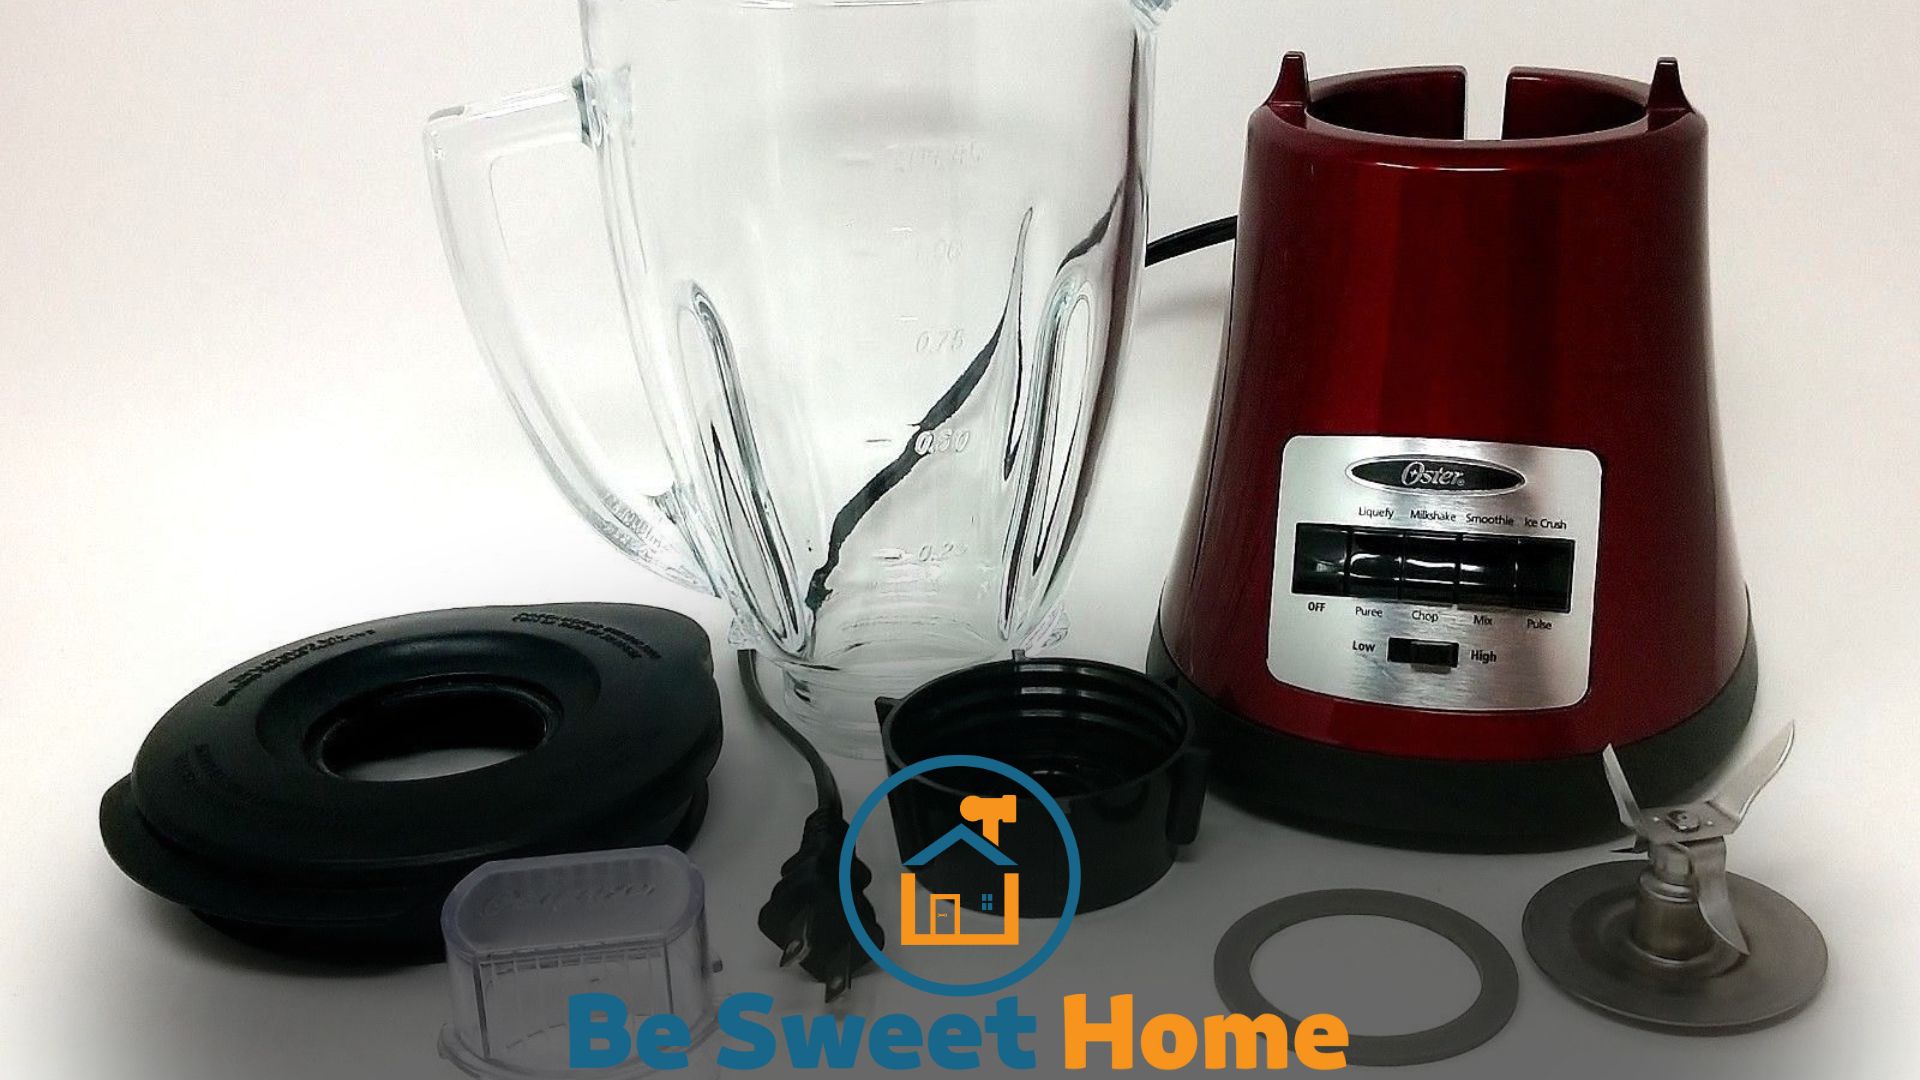
- Blender base
- Blender jar
- Lid with cap or removable center
- Blade assembly
- Fill cap or measuring cup
- User manual
Make sure all the components are included and in good condition. Contact the manufacturer for assistance if you find any missing or damaged parts.
Identify the Blender Parts
Once you have confirmed that all the necessary components are present, the next step is to identify the blender parts.
Understanding the different parts of your Brentwood Blender will make the assembly process much easier. Here are the main parts you need to familiarize yourself with:
| Blender Part | The set of blades will blend the ingredients. |
|---|---|
| Blender base | The main unit houses the motor and controls. |
| Blender jar | The container where you’ll place the ingredients for blending. |
| Lid with cap or removable center | Covers the blender jar and allows for adding ingredients while blending. |
| Blade assembly | The set of blades will blend the ingredients. |
| Fill cap or measuring cup | Used for measuring and adding ingredients to the blender jar. |
By understanding the purpose of each part, you’ll have a clearer idea of how they fit together during the assembly process.
Cleaning the Blender Parts
Before assembling your Brentwood Blender, it’s crucial to ensure all the parts are clean. Even if the components appear new, washing them before using them for the first time is always recommended.
Here’s a simple step-by-step process to clean the blender parts:
- Dismantle the blender by removing the jar and blade assembly from the base.
- Wash the blender jar, lid, and blade assembly with warm, soapy water.
- Use a brush to scrub any stubborn residues or food particles.
- Rinse all the parts thoroughly to remove any soap residue.
- Allow the parts to air dry, or use a clean towel.
Once all the parts are clean and dry, you can start assembling your Brentwood Blender and embark on a delightful blending experience!
Attaching the Blade Assembly
Attaching the blade assembly is a crucial step in assembling your Brentwood Blender.
This section will guide you through the process, providing a clear understanding of the blade assembly components and the correct way to align and attach the blades.
Understanding the Blade Assembly Components
Before attaching the blades, it is essential to familiarize yourself with the different components of the blade assembly. The blade assembly consists of the following parts:
- Blades: These sharp rotating blades are responsible for blending and chopping ingredients.
- Gasket: The gasket is a rubber ring that forms a tight seal between the blender jar and the blade assembly, preventing leaks.
- Base Assembly: This metal component houses the blades and provides stability to the blade assembly.
Aligning and Attaching the Blades
Once you have a clear understanding of the blade assembly components, it’s time to align and attach the blades:
- Step 1: Place the base assembly on a flat surface.
- Step 2: Take the blades and ensure they are clean and undamaged. Insert the blades into the designated slots on the base assembly.
- Step 3: Align the blades properly to ensure they sit evenly and securely in the base assembly.
- Step 4: Insert the gasket onto the base assembly, ensuring it sits snugly around the blades.
- Step 5: Carefully place the blade assembly onto the blender jar, ensuring the gasket lines up with the jar’s rim.
- Step 6: Rotate the blade assembly clockwise to lock it into place.
Once the blade assembly is securely attached, you can use your Brentwood Blender for various blending tasks. Remember always to follow the manufacturer’s guidelines for safe usage and maintenance.
Assembling the Jar and Base
To assemble a Brentwood blender, place the jar onto the base and align the notches. Twist the jar clockwise until it locks into place securely. Now, you’re ready to blend your favorite ingredients easily and conveniently.
Now that you have unboxed your Brentwood Blender, it’s time to assemble the jar and base. This step is crucial for ensuring the blender’s proper functionality and performance.
In this section, we will walk you through preparing the blender base and securing the jar to the base.
Preparing the Blender Base
Before attaching the jar to the base, properly preparing the blender base is essential. Follow these steps:
- Place the blender base on a clean, flat surface, ensuring stability during assembly.
- Check the base for any loose or damaged parts. If you notice any, contact Brentwood customer support for assistance.
- Ensure the power cord is easily accessible and not tangled.
- If your blender model has multiple speed settings, ensure the dial or buttons are in the “off” position.
- Inspect the base for any debris or foreign objects. Clean it using a soft, damp cloth if necessary.
Securing the Jar to the Base
With the blender base now ready, let’s move on to securing the jar. Take the following steps:
- Hold the blender jar by its handle and align it with the base.
- Place the jar onto the base, ensuring the blade assembly aligns with the motor coupling.
- Rotate the jar in a clockwise direction until it locks into place. You may hear a click or feel a slight resistance.
- To confirm proper attachment, give the jar a gentle wiggle. It should be firmly secured to the base without any looseness.
- Inspect the jar’s seal or gasket to ensure it is in good condition and properly positioned. Replace it if necessary.
Securing the jar to the base correctly guarantees optimal blending results and prevents mishaps during operation.
Remember, assembling the jar and base of your Brentwood Blender is a crucial step in unleashing its blending capabilities.
Following the steps outlined above, you can ensure a secure and efficient setup to make your blending experience a breeze.
Connecting and Securing the Lid
Welcome to the next step of assembling your Brentwood Blender – connecting and securing the lid. This crucial part ensures that your blender operates smoothly and safely, preventing mishaps during the blending process.
In this section, we will familiarize you with the lid components and snap the lid onto the jar.
Familiarizing Yourself With the Lid Components
Before connecting the lid, let’s take a moment to familiarize ourselves with its components. The Brentwood Blender lid consists of several key parts that work together to provide secure and efficient blending:
- Gasket Ring – This rubber ring creates an airtight seal between the lid and the blender jar, preventing leaks during blending.
- Lid Cap – The lid cap serves as a cover for the central opening of the lid. It can be easily removed to add ingredients or insert the tamper tool during blending.
- Center Lid Insert – The center lid insert is a removable component that allows you to add liquid ingredients or other additions while the blender operates. Always make sure to remove this insert when using the tamper tool.
- Handle – The handle provides a secure grip when handling the lid, making it easier to remove and attach.
Snapping the Lid Onto the Jar
Now that you know the lid components, let’s tap the lid onto the jar. Follow these simple steps to ensure a secure connection:
- Position the blender jar on a flat and stable surface.
- Pick up the lid by the handle and align it with the top opening of the blender jar.
- Gently lower the lid onto the jar, ensuring that the gasket ring is aligned with the rim of the jar.
- Apply slight pressure and rotate the lid clockwise until it clicks into place.
- Verify that the lid is securely attached by giving it a gentle tug.
Once you have completed these steps, congratulations! You have successfully connected and secured the lid of your Brentwood Blender.
Now, you can move on to the next exciting part – experimenting with delicious recipes and enjoying the convenience of your blender’s powerful performance.
Testing and Final Adjustments
Once you have successfully assembled your Brentwood Blender, you must undergo testing and final adjustments to ensure optimal performance.
This step will guarantee that your blender is ready to tackle any smoothie, sauce, or puree you throw its way.
In this section, we will guide you through the process, starting with plugging in the blender.
Plugging in the Blender
Before you begin testing your blender, it is crucial to plug it into a power source. Locate a nearby electrical outlet and ensure it is compatible with the blender’s power cord.
Once you have found the right spot, firmly insert the plug into the outlet. This will supply the necessary electricity for the blender to function properly.
Running a Test Blend
Now that your blender is plugged in, it’s time to run a quick test blend. This step lets you check if all the components work as expected. To do this, follow these simple steps:
- Ensure the blender jar is securely placed on the base.
- Add a small amount of water or any liquid, filling the jar no more than halfway.
- Place the lid tightly on the jar to prevent any leakage.
- Turn the blender to the lowest setting and press the start button.
- Observe the blades spinning and the liquid blending smoothly.
If everything is running smoothly without any unusual noises, congratulations! Your Brentwood Blender has passed the test blend. If you encounter any issues, contact the customer support team for assistance.
Making Final Adjustments for Optimal Performance
Now that you have confirmed your blender is in good working order let’s move on to the final adjustments.
These adjustments will help you achieve optimal performance and ensure your blender functions efficiently for years. Here are a few key adjustments to consider:
- Check the speed settings and familiarize yourself with the different options. This will allow you to adjust the speed based on the ingredients or recipes you plan to blend.
- Inspect the blade assembly and make sure it is clean and properly aligned. Misalignment can impact the blending process and lead to inconsistent results.
- Take a moment to review the user manual and understand any additional features specific to your Brentwood Blender model. This knowledge will enable you to take full advantage of its capabilities.
By following these adjustment steps, you can ensure that your Brentwood Blender operates at its highest efficiency, providing smooth and delicious results every time.
Conclusion
Assembling a Brentwood Blender is a straightforward process that can bring convenience and efficiency into your kitchen.
By following the step-by-step instructions in this blog post, you can easily set up your blender and enjoy delicious smoothies, soups, and sauces in no time.
The simplicity of the process ensures that anyone, regardless of their experience or expertise, can successfully assemble the blender without any hassle.
Embrace the joy of effortlessly preparing food with the help of the Brentwood Blender. Happy blending!