
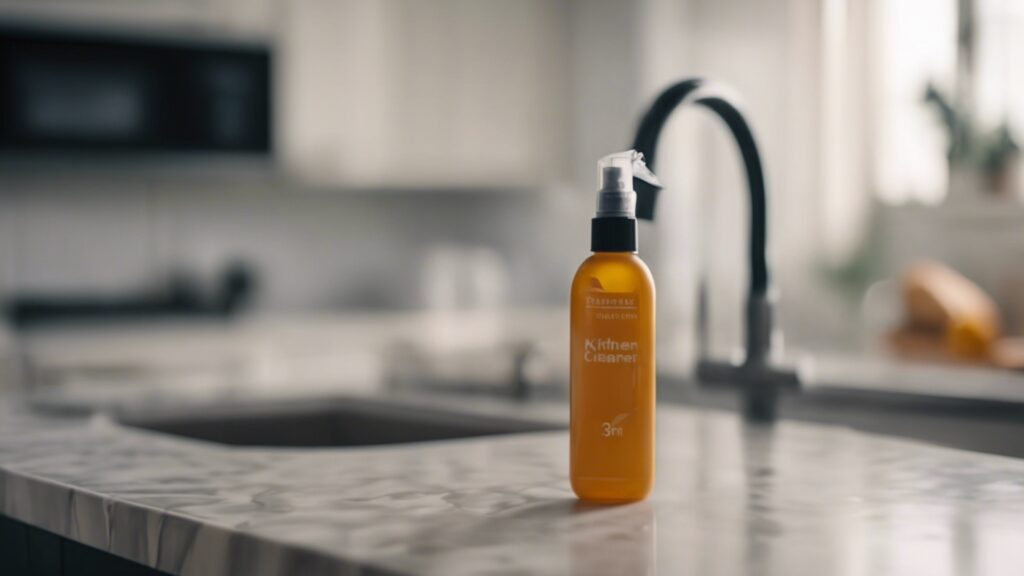
To use kitchen cleaner spray, spray it onto surfaces and wipe clean with a cloth. Let it sit for tougher stains before scrubbing.
Keeping your kitchen surfaces clean and hygienic is essential for a healthy home. Kitchen cleaner sprays are convenient for tackling grease, food spills, and bacteria on countertops and appliances.
They’re designed for ease of use, a quick spray, a brief wait for the solution to penetrate grime, and a straightforward wipe-down.
Choosing the right kitchen cleaner spray is key; look for one that suits your surfaces and meets your cleaning preferences, whether for everyday maintenance or deep-cleaning sessions.
Always follow the product’s instructions and safety guidelines to ensure effective and safe cleaning.
Using kitchen cleaner sprays as part of your regular cleaning routine lets you keep your cooking space sparkling and sanitary.
Choosing the Right Kitchen Cleaner Spray
Keeping your kitchen clean is a must. A sparkling, hygienic space is a joy to cook in. But the key to this is using the right cleaner.
Not all sprays are equal. To find the perfect one, think about what matters to you.
Factors To Consider
Many details define an excellent cleaner. Consider spray type, ease of use, and what surfaces it suits. Still confused? Let’s dive deeper.
- Surface Type: Some are for all surfaces, others for specific ones.
- Formula Strength: Check if it tackles tough grease and grime.
- Scent: Scents range from lemon to lavender. Choose what you love.
- Eco-Friendly: Environment lovers prefer green products.
- Residue: Nobody wants streaks. Get a no-residue formula.
- Price: Find a cleaner that’s effective and fits your budget.
Chemical vs. Natural Ingredients
There’s a constant debate on chemicals versus nature. Here’s the lowdown:
| Chemical Ingredients | Natural Ingredients |
|---|---|
| Powerful against all grease | Safe for family and pets |
| Can cause skin irritation | Gentler on hands and noses |
| Often cheaper in price | Helps the environment |
Preparations Before Spraying
Before tackling a kitchen cleanup, a few steps ensure effectiveness and safety. Proper preparations create a smooth cleaning experience.
Learn these easy preparation steps before using kitchen cleaner spray.
Clearing the Area
Start with removing utensils, food, and appliances from the countertop. Clear any crumbs or debris. This step will give you a clean slate for spraying your cleaner.
- Take away toasters, blenders, and kettles.
- Swipe away crumbs with a dry cloth.
- Remove cutting boards and knife blocks.
Wearing Protective Gear
To safeguard your skin and lungs, wear gloves and a mask. Protective gear keeps you safe from harsh chemicals in some kitchen sprays.
- Choose gloves that resist chemicals.
- Opt for a mask to avoid inhaling fumes.
- Ensure good room ventilation before starting.
The Spraying Process
Embarking on the spraying process with kitchen cleaner spray makes tackling grime and grease a breeze. Simple steps result in a clean and welcoming kitchen space.
Attention to spraying techniques ensures thorough cleaning without wasted effort.
Targeted Application
Focusing on specific dirty areas maximizes the efficacy of your kitchen cleaner spray. Direct the nozzle towards stubborn stains and grime-heavy zones for targeted application. Here’s how:
- Pinpoint the mess: Identify greasy spots or dried-up food splatters.
- Adjust the nozzle: Choose a direct stream for concentrated areas or a fine mist for larger surfaces.
- Keep the distance: Hold the bottle 6 to 8 inches from the surface for optimal impact.
Effective Techniques for Coverage
Ensure complete coverage for a uniformly clean kitchen. Use these techniques:
- Even strokes: Apply the spray in a controlled, sweeping motion.
- Overlap areas: Slightly overlap each stroke to avoid missed spots.
- Let it sit: Give it a moment to break down the dirt after spraying.
- Wipe clean: Use a microfiber cloth to remove residue and reveal shine.
Always wear gloves to protect your skin and ventilate the area to avoid inhalation of fumes.
After Spraying: What To Do Next
So you’ve just coated your kitchen surfaces with a spritz of cleaner spray – nice work! But what happens after you spray? This crucial step is where the actual cleaning magic happens.
From allowing the product to do its thing to ensuring everything is sanitary and sparkly, here’s your simple guide to post-spraying protocol.
Waiting Time
Patiently wait for the cleaner to dissolve grime and grease. Different cleaners require different waiting times, which should be followed strictly.
As a rule of thumb, allow at least a minute for regular dirt and longer for tougher gunk.
Rinsing and Wiping Down Surfaces
After waiting, it’s time to rinse and wipe. Grab a damp cloth or sponge. Start by wiping away the cleaner, using circular motions to remove all residue.
Some surfaces might require rinsing with water. Ensure a thorough rinse to avoid leaving chemical traces behind.
- Bold spots might require a second application.
- Dry the surfaces with a clean towel after rinsing.
- Enjoy the shine of your spotless kitchen.
Safety Tips and Precautions
Cleaning your kitchen keeps it sparkling, but safety matters too. Using a kitchen cleaner spray seems straightforward, but precautions are necessary. Prevent accidents and health risks with these key safety tips.
Proper Ventilation
Chemicals in cleaning sprays can affect air quality. Open windows to let fresh air in. This helps to disperse fumes and reduce inhalation risks.
Storing the Cleaner Safely
Keep cleaner sprays out of reach of children. Store them in a cool, dry place, away from food. Ensure the cap is secure after every use.
Read labels for best storage practices. Check the expiry date. Expired cleaners can be less effective and more dangerous.
- Use original containers to avoid mix-ups and chemical reactions.
- Never combine cleaners unless instructed, as this can create toxic gases.
Maintaining Cleanliness With Regular Use
Kitchen cleanliness is a game of consistency. Regularly using kitchen cleaner spray creates a space that’s always ready for cooking adventures. The trick is to make it a habit so dirt and grime never build up.
Schedule and Routine
When you set a cleaning schedule, it’s like putting your kitchen on autopilot.
- Daily: Wipe down surfaces after meals.
- Weekly: Do a deep clean of high-use areas.
- Monthly: Tackle those often-forgotten spots.
Stick your routine on the fridge so it’s always in sight.
Handling Tough Stains
Don’t let tough stains stand in your way. Get ahead of them with the right approach.
- Spot a stubborn stain? Act quickly.
- Spray generously with kitchen cleaner.
- Let it sit for a minute or two.
- Scrub gently with a non-scratch sponge.
- Rinse and enjoy the shine.
A little extra soak time might be needed for the toughest stains.
Frequently Asked Questions
What is Kitchen Cleaner Spray?
Kitchen cleaner spray is a detergent-based solution to break down grease, grime, and other residues commonly found on kitchen surfaces.
How To Apply Kitchen Cleaner Spray?
Spray directly onto the surface, covering the area evenly, and then wipe with a clean, damp cloth or sponge for effective cleaning.
Is Kitchen Cleaner Spray Safe for All Surfaces?
Most kitchen cleaner sprays are safe for typical surfaces, but always check the label for compatibility with specific materials like granite or hardwood.
Can Kitchen Cleaner Spray Remove Tough Stains?
Many kitchen cleaner sprays are formulated to tackle tough stains, but additional soaking time or a second application may be necessary for persistent spots.
How Often Should I Use Kitchen Cleaner Spray?
Regular use of kitchen cleaner spray, as needed or after cooking, helps maintain cleanliness and hygiene on kitchen surfaces.
Conclusion
Maintaining a sparkling kitchen is more straightforward with the right cleaner at your side. Armed with tips from this guide, you’re ready to tackle grease and grime effectively.
Select a spray suited to your surfaces, apply it correctly, and enjoy a cleaner, fresher kitchen space.
Let your culinary haven shine!

