To clean a Smeg blender, follow these simple steps: Rinse the pitcher with warm, soapy water. Use a soft sponge or brush to scrub off any residue.
Rinse thoroughly and dry before storing.
Required Tools and Materials for Cleaning
When cleaning your Smeg blender, having the right tools and materials is essential to ensure that your blender stays clean and hygienic. Whether you use your blender daily or occasionally, regular cleaning is important to prevent the buildup of residue and maintain the performance of your appliance.
In this section, we will outline the required tools and materials that you will need to clean your Smeg blender effectively.
Strongwarm Soapy Water
The first tool you will need is warm soapy water. This can be easily prepared by mixing a few drops of mild dish detergent or vinegar with warm water in a basin or sink. Warm soapy water is gentle enough to clean the blender without causing any damage to the appliance.
Strong Sponge Or Soft Cloth
A sponge or soft cloth is essential to scrub away any residue or stains. The sponge or cloth should be non-abrasive to prevent scratching the surface of the blender. Make sure to choose a sponge or cloth suitable for cleaning kitchen appliances.
Strong Cleaning Brush
A cleaning brush with soft bristles can be useful for tackling hard-to-reach areas, such as the crevices between the blades. The bristles should be gentle enough to avoid scratching the blender’s components but firm enough to remove any buildup.
Strongmild Dish Detergent Or Vinegar
To enhance the cleaning power of warm soapy water, you can add a few drops of mild dish detergent or vinegar. These household staples help to break down grease and stubborn residue, leaving your blender sparkling clean.
Strong Damp Cloth
A damp cloth is useful for wiping down the exterior of the blender. It can remove any fingerprints, smudges, or spills that may have occurred during use. Ensure that you wring the cloth properly to avoid water dripping onto the blender.
Strong Dry Cloth Or Towel
Finally, a dry cloth or towel is necessary to dry the blender thoroughly after cleaning. Drying the blender prevents mold or mildew growth and ensures that no moisture remains on the appliance.
With these essential tools and materials, you can effectively clean your Smeg blender and maintain its performance and longevity.
In the next section, we will guide you through the step-by-step cleaning process to help you keep your blender in top condition.
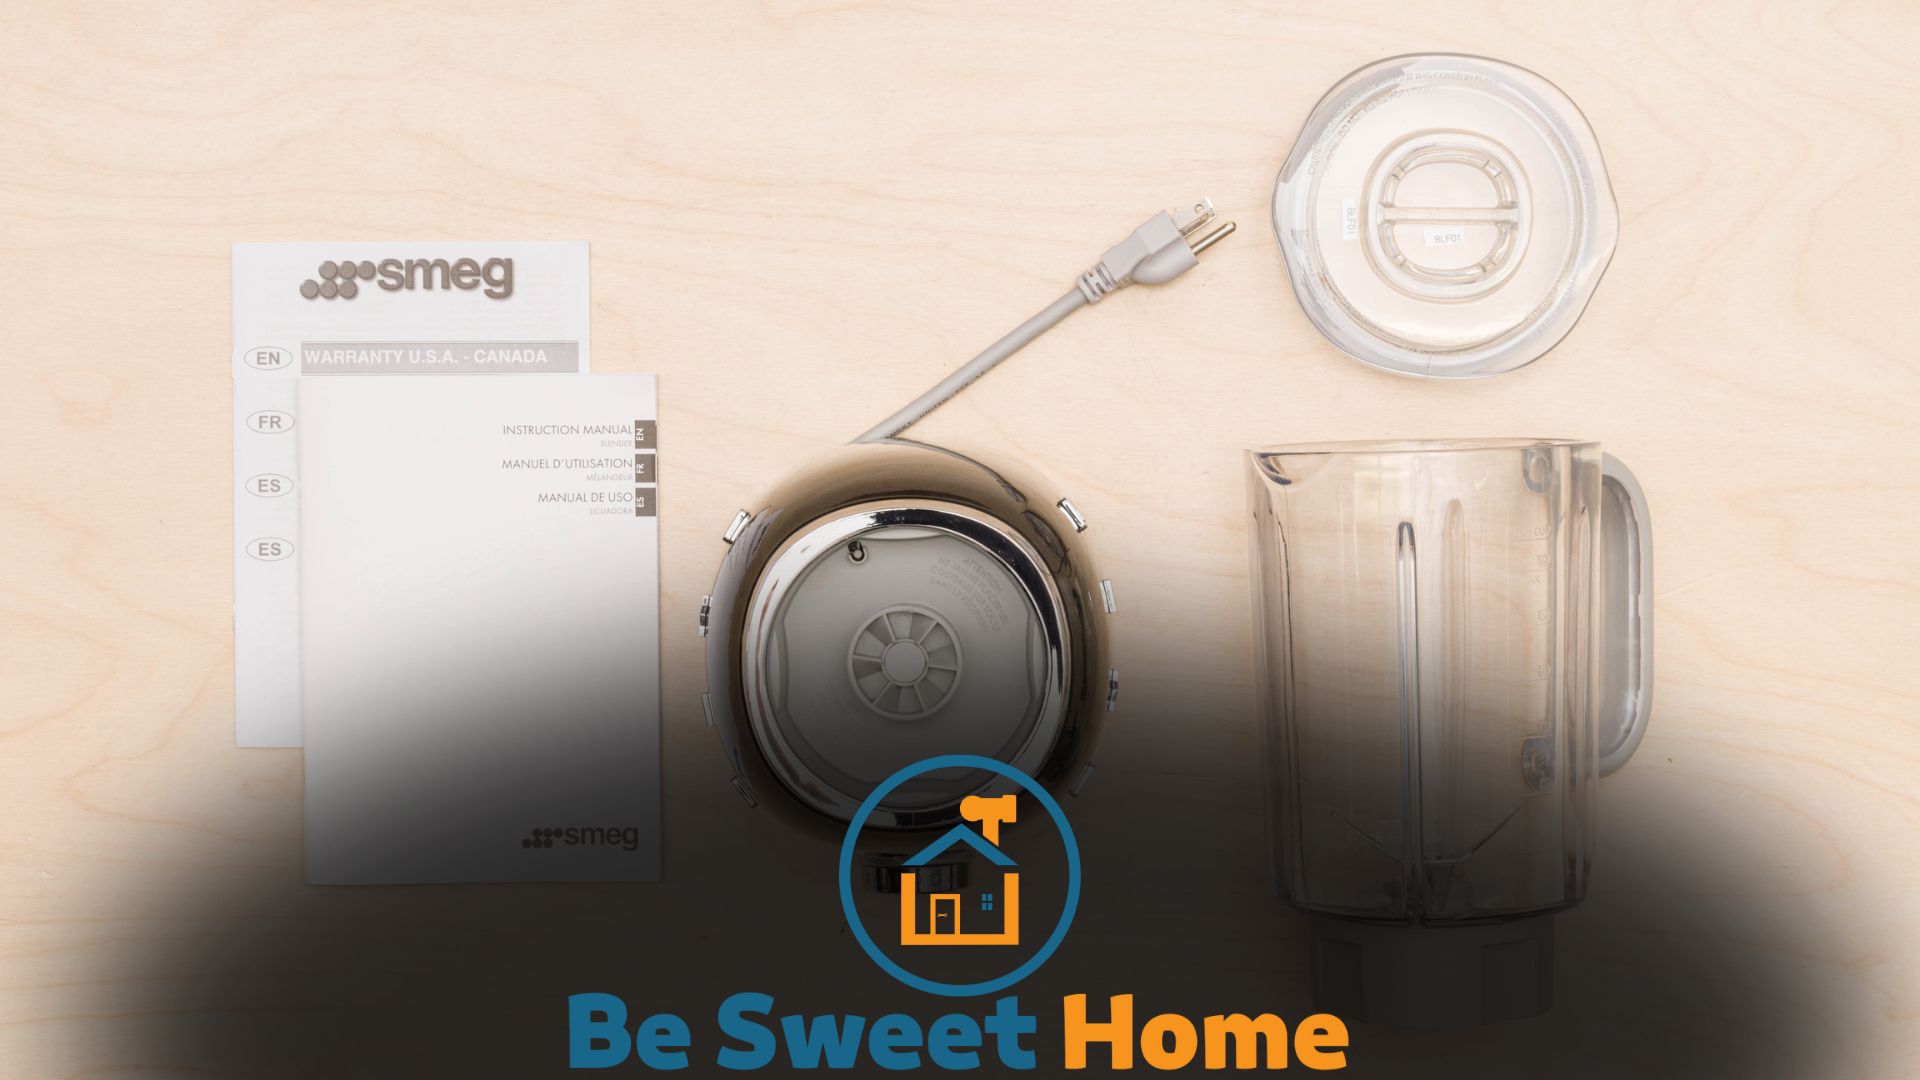
Disassembling the Blender
Keeping your Smeg Blender clean is essential for ensuring optimal performance and longevity. Disassembling the blender is a crucial step in the cleaning process as it allows you to access all the parts that need cleaning thoroughly.
Removing the Pitcher
To start disassembling your Smeg Blender, the first step is to remove the pitcher from the base. This is where you pour your ingredients and where the blending magic happens. Follow these steps:
- Make sure the blender is unplugged and turned off.
- Gently hold the pitcher with one hand, ensuring a firm grip.
- With your other hand, press the release button or lever located at the bottom of the blender base.
- As you press the button or lever, lift the pitcher upward, detaching it from the base.
Once you have successfully removed the pitcher, you can move on to the next step.
Detaching the Blade Assembly
The blade assembly is the heart of your blender, responsible for blending and chopping your ingredients. Periodically removing and cleaning the blade assembly is crucial to prevent any buildup or residue.
Follow these steps to detach the blade assembly safely:
- Ensure the pitcher has been removed from the base.
- Hold the blade assembly firmly with one hand.
- Rotate the blade assembly counterclockwise using gentle yet firm pressure.
- The blade assembly will loosen and can then be removed from the pitcher.
With the blade assembly now detached, you can proceed to the final step in disassembling your Smeg Blender.
Removing the Lid and Measuring Cap
The lid and measuring cap of your Smeg Blender protect your ingredients and play a vital role in the blending process. Cleaning these parts thoroughly is crucial for maintaining proper hygiene.
Follow these simple steps to remove the lid and measuring cap:
- Ensure the pitcher is empty and detached from the base.
- Gently grab the lid with one hand.
- Rotate the lid counterclockwise until it becomes loose.
- Lift the lid upward to remove it from the pitcher.
- The measuring cap can be removed by simply pulling it upward.
With the lid and measuring cap successfully removed, you have disassembled your Smeg Blender completely. It’s time to move on to the next steps in the cleaning process and ensure your blender stays in tip-top shape.
Cleaning the Blender Parts
Cleaning the blender parts of your Smeg blender can be a breeze with these simple steps. Keep your blender in top condition by following these easy cleaning tips.
Cleaning the Pitcher
Cleaning the pitcher of your Smeg blender is an essential step to maintain its performance and longevity. Here’s how you can clean the pitcher effectively:
Washing With Warm Soapy Water
Start by washing the pitcher with warm soapy water. This gentle yet effective method helps remove any residue or food particles stuck on the surface. Remember to use a mild dish soap to protect the pitcher’s finish.
Removing Stubborn Stains With Vinegar Or Baking Soda
For stubborn stains or discoloration, you can use vinegar or baking soda. Fill a sink or basin with warm water and add a cup of white vinegar or a few tablespoons of baking soda.
Let the pitcher soak in this solution for about 15 minutes, then scrub gently with a soft sponge or brush. Rinse thoroughly afterward.
Rinsing Thoroughly
After cleaning the pitcher, rinse it thoroughly with clean water to remove any soap residue or cleaning solution.
This step is crucial to ensure that no harmful substances remain in the pitcher that may affect the flavor or quality of future blends.
Cleaning the Blade Assembly
The blade assembly is another component of your Smeg blender that requires regular cleaning. Follow these steps to clean it effectively:
Disassembling the Blades
First, carefully remove the blade assembly from the pitcher. Depending on your Smeg blender model, you might need to twist or unscrew the assembly to detach it from the pitcher.
Cleaning Each Blade Individually
Once the blade assembly is removed, clean each blade individually using warm soapy water. Gently scrub the blades with a soft brush or sponge to remove any residue or buildup. Ensure that you clean both sides of the blades thoroughly.
Removing Food Residue With a Brush
Use a small brush, such as a toothbrush, to remove any stubborn food residue from the nooks and crannies of the blade assembly. Pay close attention to hard-to-reach areas to remove all residue effectively.
Cleaning the Lid and Measuring Cap
Don’t forget to clean the lid and measuring cap, as these parts can accumulate residue over time. Follow these steps for a thorough clean:
Washing With Warm Soapy Water
Wash the lid and measuring cap with warm soapy water. Use a sponge or cloth to remove any food particles or stains. Remember to clean both the inside and outside surfaces.
Paying Attention to Tight Spaces and Crevices
When cleaning the lid and measuring cap, consider tight spaces and crevices where residue may accumulate. Use a small brush or toothpick to reach these areas and ensure a thorough clean.
Drying Thoroughly
After washing all blender parts, including the pitcher, blade assembly, lid, and measuring cap, ensure they are dried thoroughly before reassembling. Use a clean towel or air dry them upside down to prevent moisture buildup.
- Clean the pitcher by washing it with warm soapy water.
- If there are stubborn stains, try using vinegar or baking soda by soaking the pitcher in warm water and either vinegar or baking soda.
- Rinse the pitcher thoroughly to remove any soap or cleaning solution residue.
- To clean the blade assembly, carefully disassemble it from the pitcher.
- Clean each blade using warm soapy water and a soft brush or sponge.
- Use a toothbrush or small brush to remove any food residue from hard-to-reach areas.
- Don’t forget to wash the lid and measuring cap with warm soapy water.
- Pay attention to tight spaces and crevices when cleaning the lid and measuring cap.
- Dry all the blender parts thoroughly before reassembling.
Cleaning the Blender Base
The blender base is the foundation of the appliance, and it’s important to keep it clean to ensure optimal performance and longevity.
In this section, we will guide you through the steps to clean the blender base effectively.
Unplugging the Blender
The first step in cleaning the blender base is to ensure it is completely disconnected from the power source. Unplug the blender from the electrical outlet to eliminate any risk of electrocution or damage to the appliance.
Wiping the Base With a Damp Cloth
Take a damp cloth or sponge and wipe the entire surface of the blender base. This will help remove dirt, dust, or spills accumulated over time.
Make sure to wring out the cloth or sponge properly to avoid excessive moisture that could seep into the appliance.
Removing Spills and Stains
If there are any spills or stains on the blender base, you can use a mild detergent or dish soap to clean them. Apply a small cleaning solution to a soft cloth and gently scrub the affected area. Rinse the cloth thoroughly and wipe away any residue.
Drying the Base Completely
After cleaning the blender base, it’s important to dry it thoroughly before reconnecting it to the power source. Use a dry cloth or towel to remove any remaining moisture.
Inspect the base carefully to ensure it is completely dry, as any lingering moisture can lead to mold or damage to the electrical components.
Reassembling and Storing the Blender
After thoroughly cleaning your Smeg blender, it’s important to reassemble it properly to ensure its optimal performance and longevity. Here are the simple steps to follow:
Ensuring All Parts Are Dry
Before reassembling your Smeg blender, ensure all the parts, including the pitcher, lid, blade assembly, and measuring cap, are completely dry. Damp parts can lead to mold growth or affect the blender’s functionality.
Placing the Blade Assembly Back Into the Pitcher
Start by carefully inserting the blade assembly back into the pitcher, ensuring that it is firmly and securely attached.
The blade assembly plays a vital role in blending your ingredients to perfection. Double-check its placement to avoid any leaks or malfunctions during blending.
Securing the Lid and Measuring Cap
Next, position the lid on top of the pitcher, aligning it properly. Ensure it fits snugly and securely, allowing a seamless blending experience without spills or accidents.
Don’t forget to place the measuring cap in its designated spot on the lid, as it helps you accurately measure ingredients while blending.
Attaching the Pitcher to the Base
Now, it’s time to connect the pitcher to the base of the Smeg blender. Align the pitcher’s base with the corresponding section on the blender’s base, ensuring it sits securely. This step is crucial for the blender’s stability and safety during operation.
Storing the Blender in a Clean and Dry Area
Finally, once your Smeg blender is reassembled, it’s essential to store it properly. Find a clean and dry area in your kitchen or pantry where you can safely keep the blender.
Avoid storing it near water sources or humid areas to prevent damage or potential corrosion. Keeping your blender in a designated spot will make it easily accessible for future blending needs.
Handle your cleaning tasks with caution and always follow proper safety guidelines to ensure your well-being and the longevity of your Smeg blender. Now, you are ready to enjoy hassle-free blending and create delicious, nutritious recipes!
Conclusion
To sum up, keeping your Smeg blender clean is essential for its longevity and optimal performance. You can maintain a hygienic and efficient blender by following the simple steps outlined in this guide.
Regular cleaning of the jar, blades, and base will ensure a smooth blending experience every time.
Use gentle cleaning agents and be cautious while handling the sharp blades. With proper care, your Smeg blender will continue to be a valuable kitchen companion for years.